
Are you the kind to make your own regular appointments for your pedicure at the nail spa, or do you prefer to give your feet regular TLC every week or every two weeks but can’t afford to do a pedicure so often at the nail spa? There’s a solution in sight and you’ll be pleased to know you can do it even in the comfort of your own home!
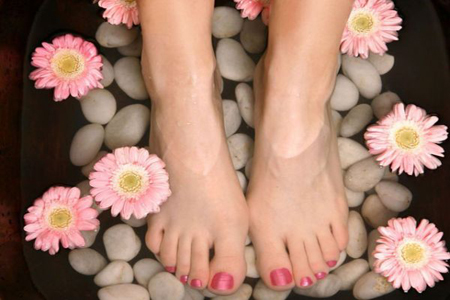
I’ve just returned from a little island getaway and I know my feet could use some pampering (aside from the glorious foot massage I had paid for), and I don’t think I can wait for a scheduled appointment. What did I do? Create my own little spa of course!
Personally, I find pampering myself at home very relaxing and it gives me a little time for me. It’s some quiet time away from the hustle and bustle of every day life and it’s nice to zone out. If you haven’t yet tried this at home, do yourself a favour and give it a try. You might be surprised with the results!
Step 1: Clean Your Nails
Before you get started on anything, remove any existing nail polish you have on your toes.
Step 2: Soak Your Tired Feet
Don’t underestimate the power of a good foot soak. This not only cleans your feet but softens any hard skin and preps it for that DIY pedicure you’re about to give yourself. To make life easier, I usually buy a premixed foot soak salt and add it into a bowl of warm water – you can pick your foot soak depending on your needs, to relax, to rejuvenate, to clean. I then let my feet relax in this warm bath of foot soak and sit back for about 5 to 10 minutes. Don’t think that just because you aren’t at some fancy spa, that you’ll have to skip on this step.
Step 3: Exfoliate and Scrub Away!
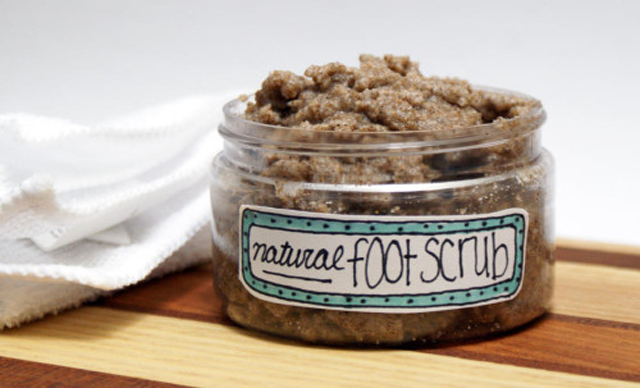
After that glorious foot soak you’ve just pampered yourself to, the skin on your foot would have softened, especially the dead skin. What you need to do now is apply some exfoliating scrub and get rid of all that dead skin! Start at your heel (usually the toughest spot) and then work your way up the rest of your foot. You could use a little loofah to help or a little scrub, and once you’re satisfied, rinse with warm water. Let that dead skin wash off and feel the softness.
Related: Prevention and Home Remedies for Nail Fungus
Step 4: Buff Away Unwanted Bumps
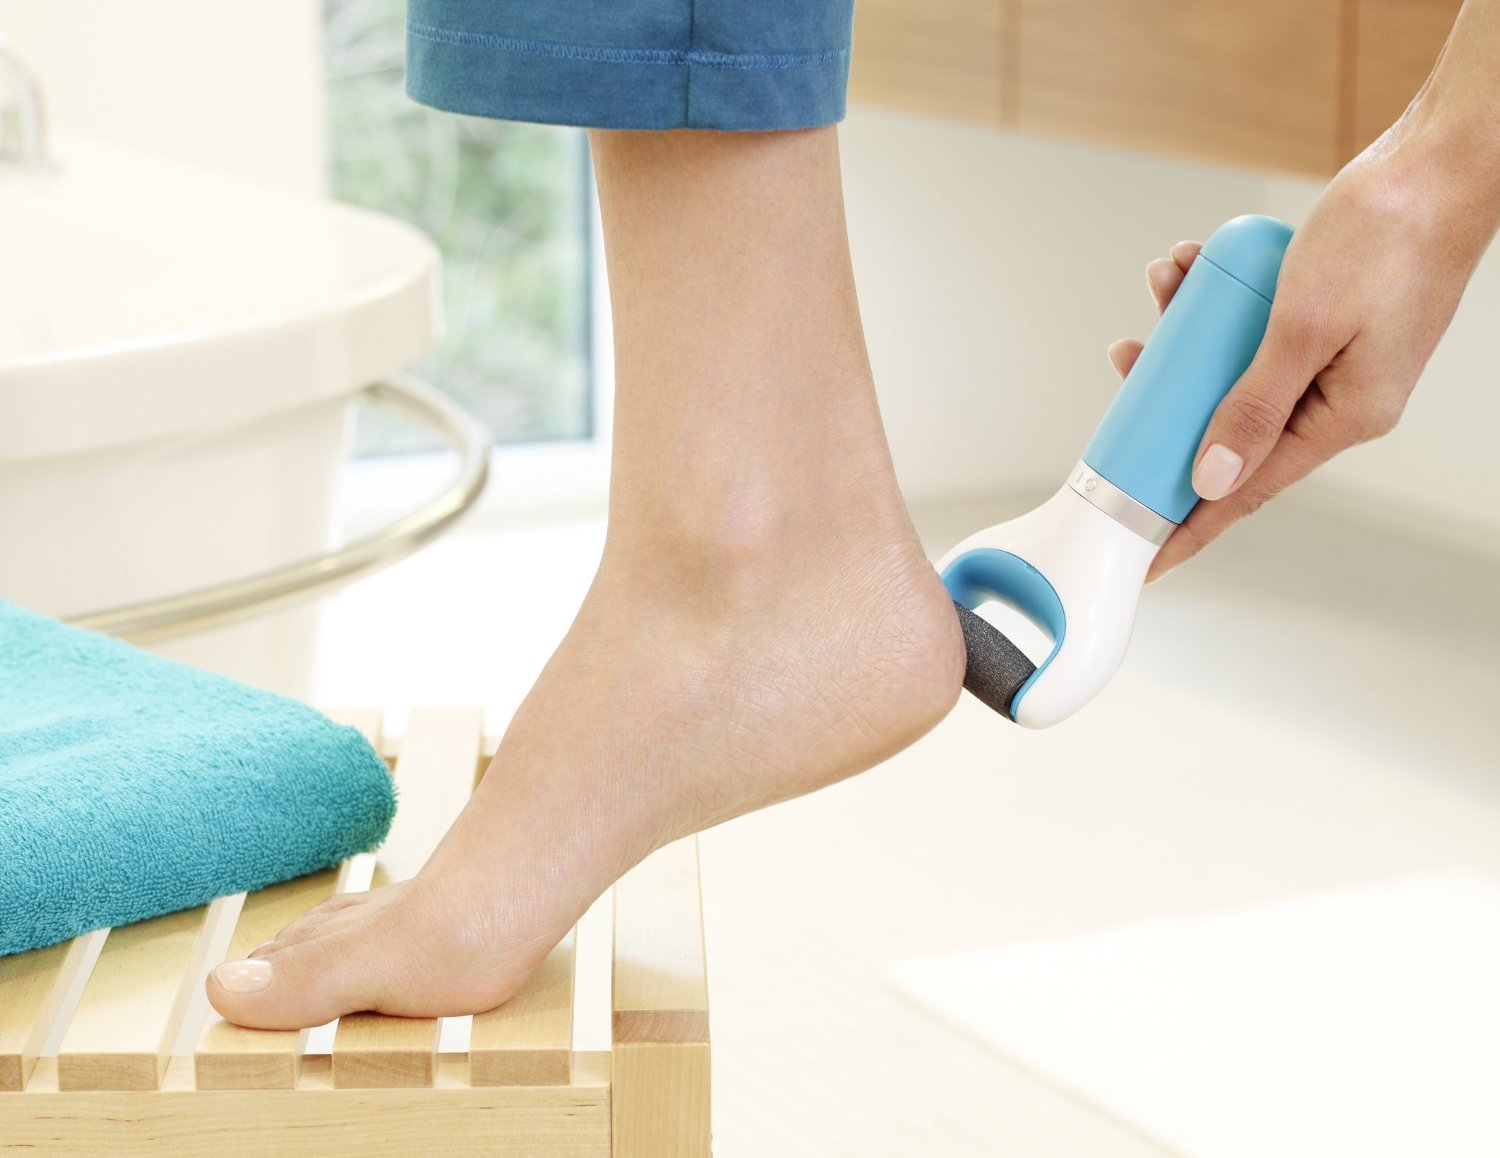
I tend to always have hardened bumps just beneath my smallest toe. Maybe this is common but it always helps to slowly buff away at it once you’ve exfoliated the dead skin off. Don’t go too crazy and buff your raw skin! You’ll know when to stop. Use a light back and forth motion and keep checking on your progress.
Step 5: Make Those Nails Pretty
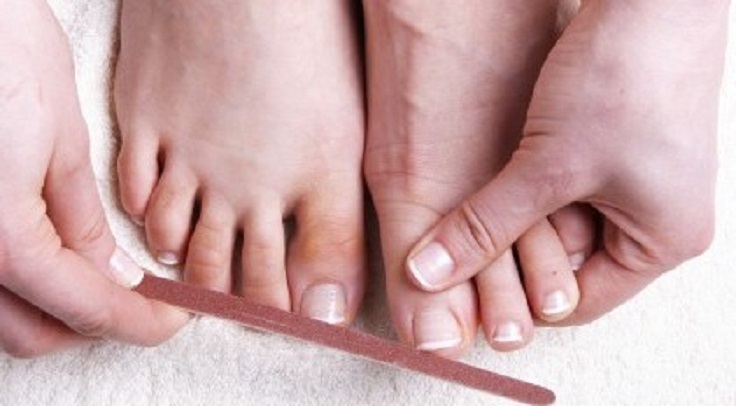
This means trim those overly long nails, a square shape looks great for feet and also makes sure it doesn’t press into your shoes or become painful ingrown toenails. File them and also apply some cuticle oil. If you know what you’re doing, you could also push back your cuticles to give your feet that polished appearance.
Step 6: Massage with a Rich Cream
This is MY favourite part. Don’t skimp on the foot cream – indulge and buy something that you know your feet would thank you for. Apply it to your foot and give yourself a massage with circular motions – focus on your arch of your foot. You’ll thank us!
Step 7: Beautify with Nail Polish… or not
If you want, go ahead and add some colour. Or just buff your nails into a pretty little shine. Or leave it be. Entirely up to you – and that’s the best part. Because you aren’t paying for it, you don’t feel like you need to do anything in particular to make your money’s worth.
Related: 2016 Nail Trend Forecast by Nails Magazine
We hope you found these tips useful!
– Cover Image: experthometips.com
Also read:
")


